Search
  • Journal
  • Recipes
  • About
  • Say Hello
  • Subscribe
Close
Menu
Search
Close
  • Journal
  • Recipes
  • About
  • Say Hello
  • Subscribe
Menu

sprig of thyme

October 29, 2015

Salt-baked fish with citrus and herbs

by Iglika


Sprig_of_Thyme_BakedSaltTrout_01.jpg


“What is REAL, asked the (velveteen) rabbit one day...

Real isn’t how you are made,’ said the Skin Horse. ‘It’s a thing that happens to you. When a child loves you for a long, long time, not just to play with, but REALLY loves you, then you become Real.’

‘Does it hurt?’ asked the Rabbit. 

‘Sometimes,’ said the Skin Horse, for he was always truthful. ‘When you are Real you don’t mind being hurt.’ 

‘Does it happen all at once, like being wound up,’ he asked, ‘or bit by bit?’ 

‘It doesn’t happen all at once,’ said the Skin Horse. ‘You become. It takes a long time. That’s why it doesn’t happen often to people who break easily, or have sharp edges, or who have to be carefully kept. Generally, by the time you are Real, most of your hair has been loved off, and your eyes drop out and you get loose in the joints and very shabby. But these things don’t matter at all, because once you are Real you can’t be ugly, except to people who don’t understand...but once you are Real you can’t become unreal again. It lasts for always.” 

“He longed to become Real, to know what it felt like; and yet the idea of growing shabby and losing his eyes and whiskers was rather sad. He wished that he could become it without these”

– Margery Williams, The Velveteen Rabbit


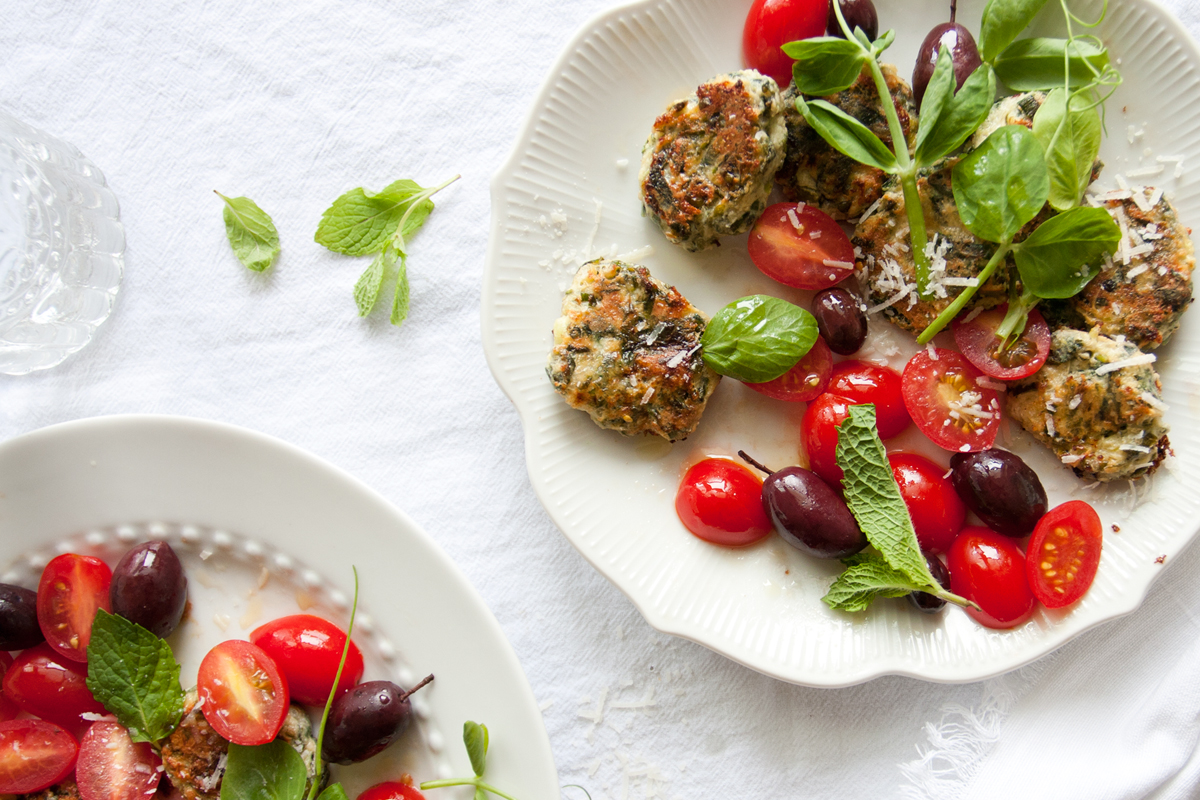
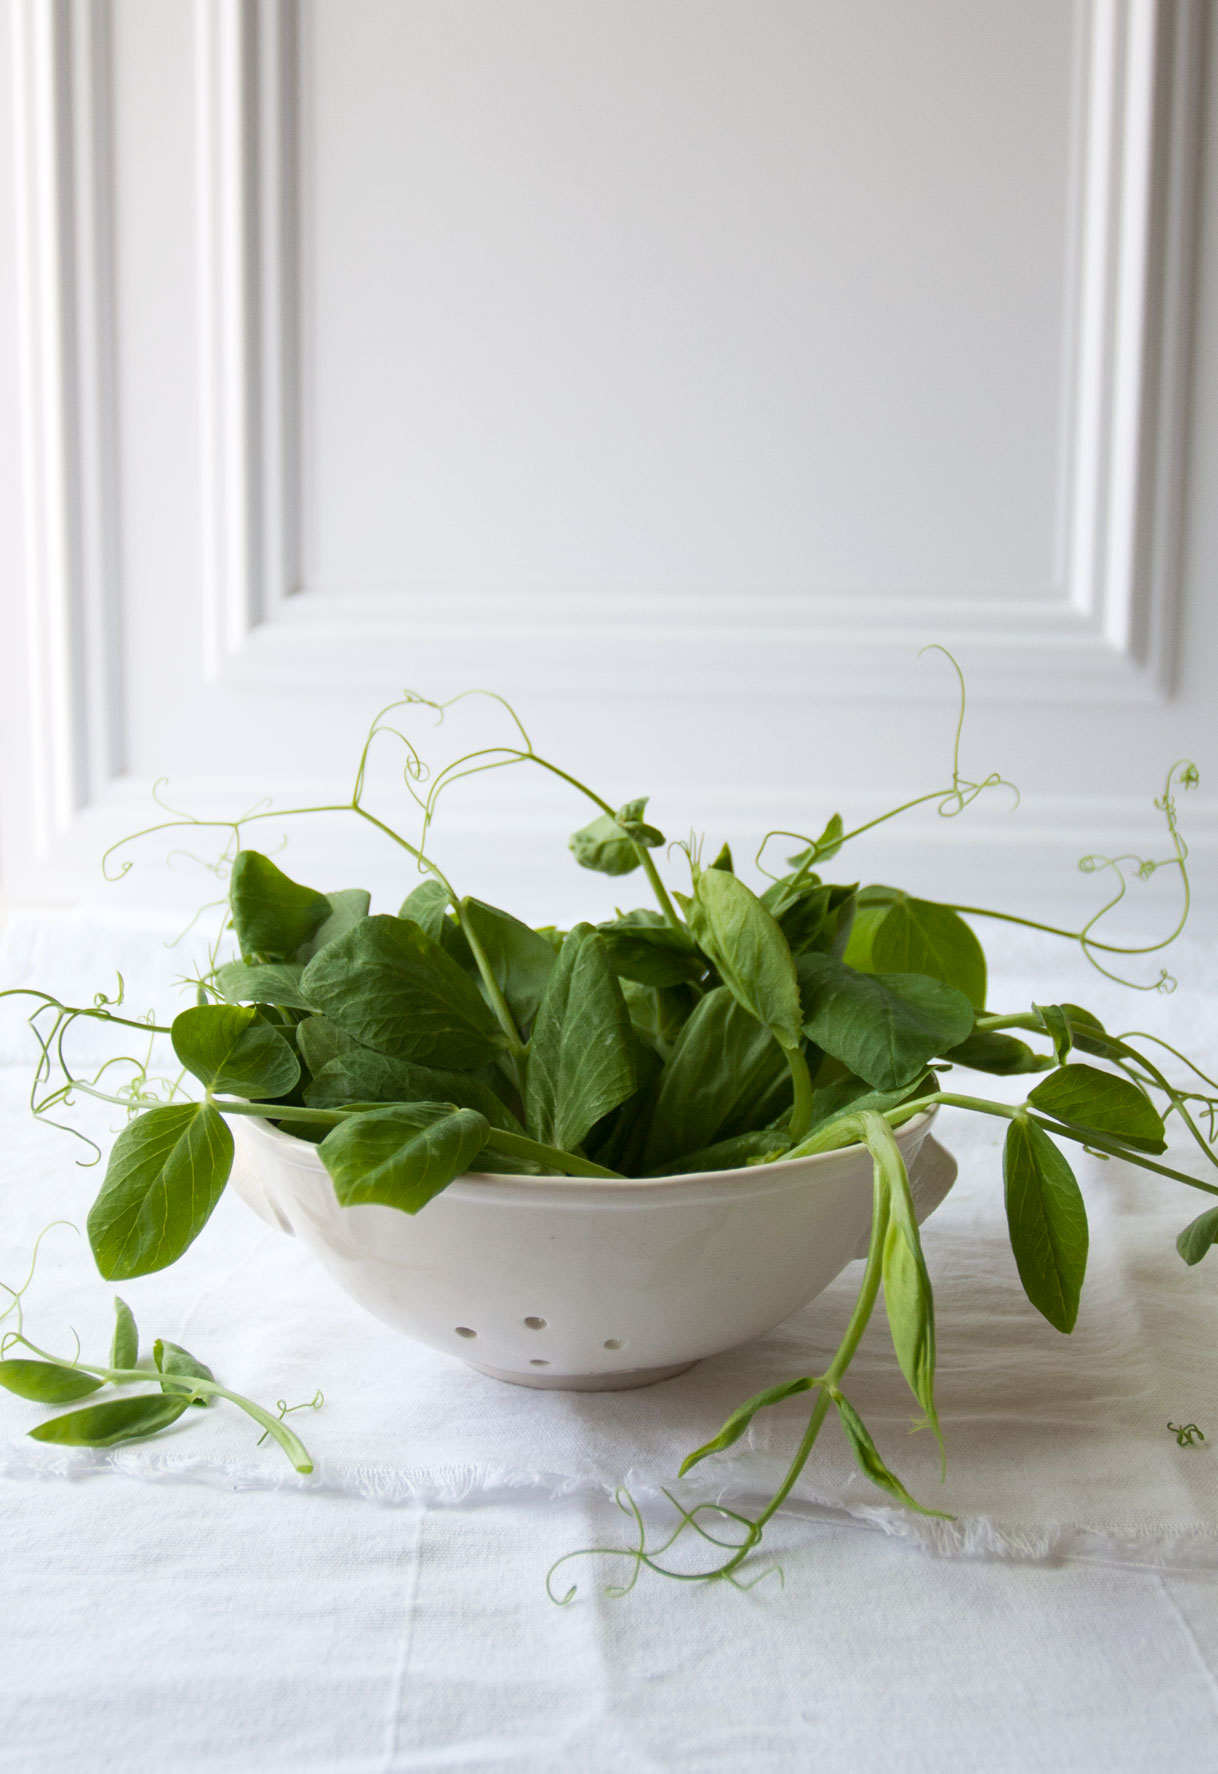
What is Real? Real is nourishing, for the soul, the heart, the body and the eyes. Real don’t only takes, but it gives back to us. It make us grow, change and evolve. Sometimes lovingly, sometimes painfully. Sometimes slow, sometimes fast. Sometimes the lessons get hard and we get lost. Sometimes so hard, that we give up. And sometimes, if we listen to our hearts, even if the pounding sound is soft but persistent, we might search for it again. Real loves us back. 

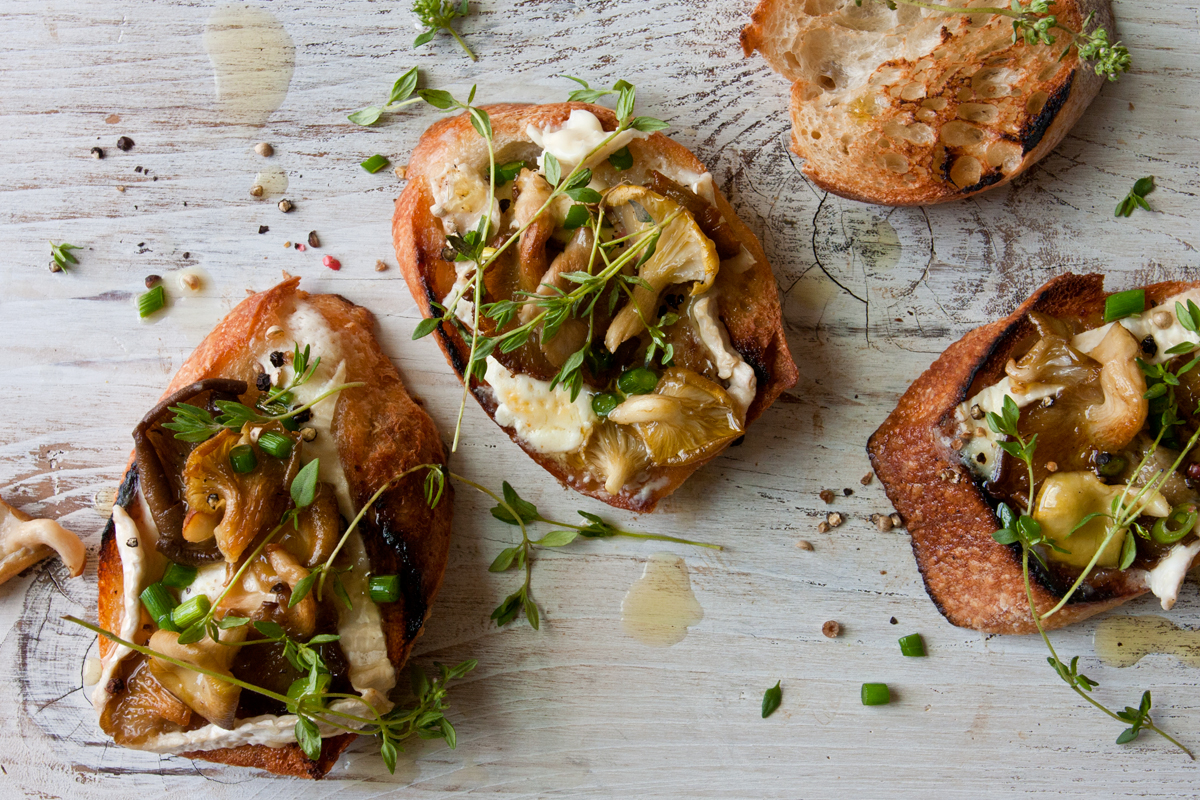
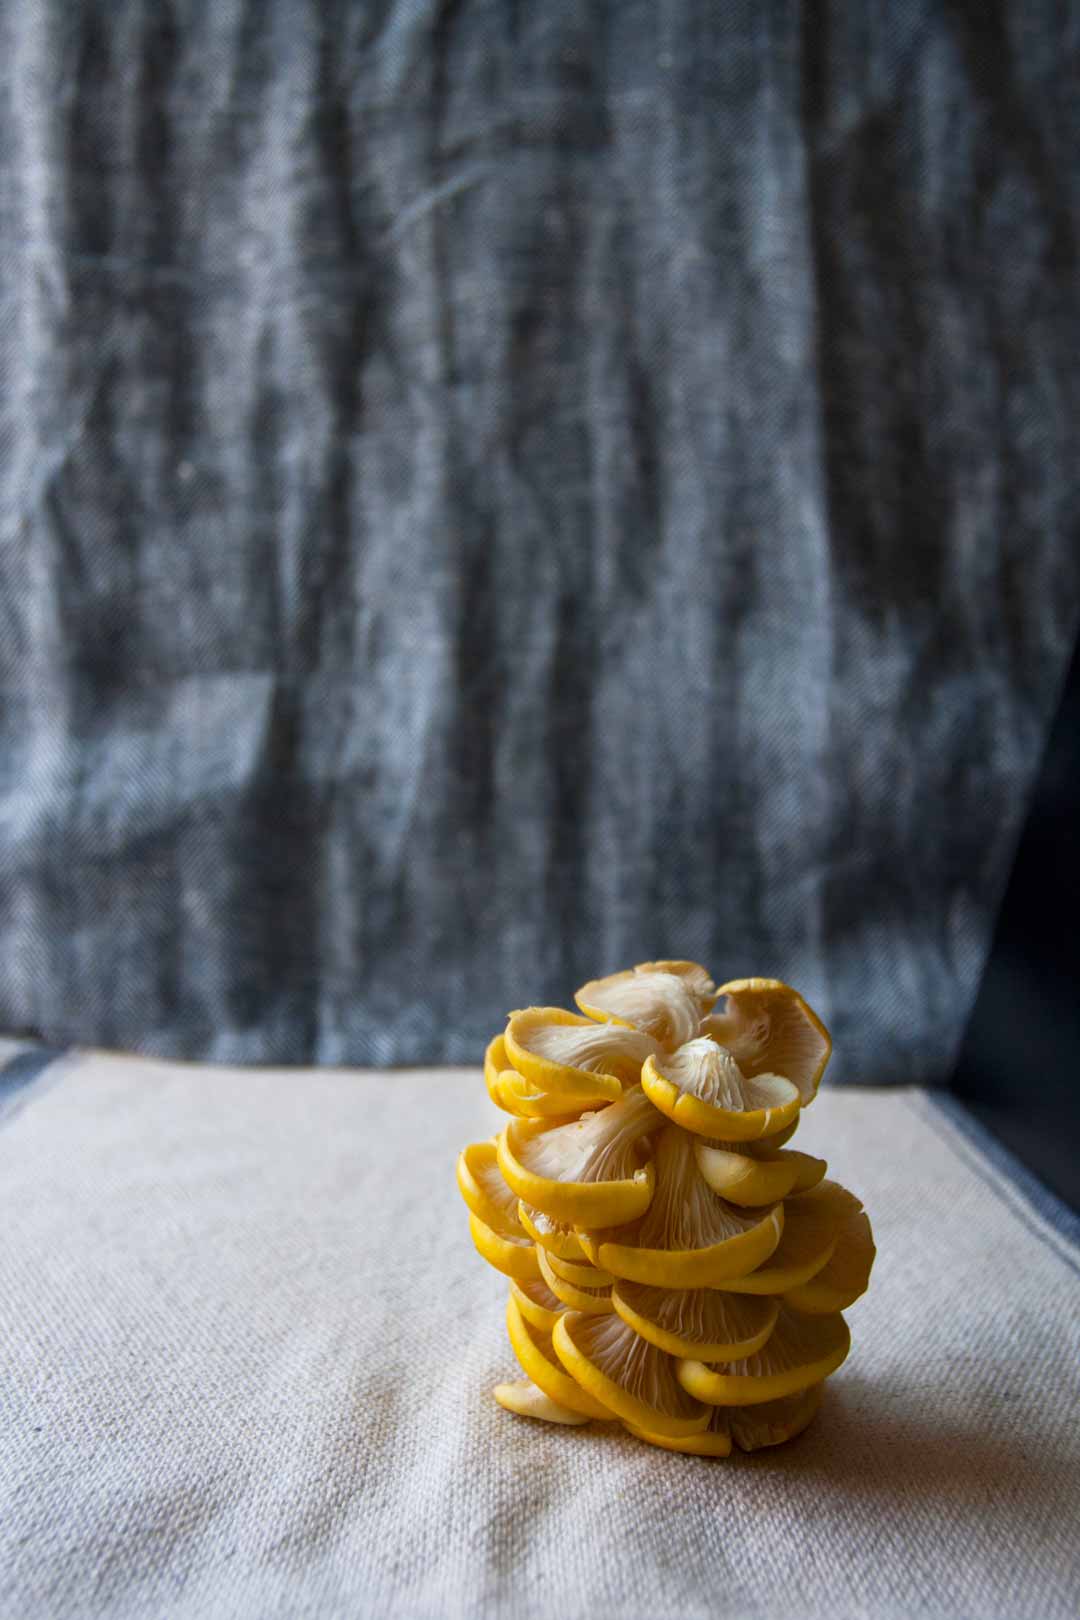
Real people and Real food are alike. They are not flashy or shiny. They grow slow, they are made of good stuff and they are good for us. We might not find them in the hip and most expensive places, in the crowd of glitter, gold and perfect size or shape. And they are not seen with someone’s eyes – but with their heart. 

Once you found them, don’t flip-flop or over-cook them. Let their true beauty shine with little or no intervention. And they...They will give back to you. All their beauty and love.


This summer I had the chance to work with Eliesa Johnson on a project we called ‘the trout photoshoot’. Eliesa is a wonderful human being, full of joy, happiness and positive energy. A photographer and creative extraordinare and a very Real person.

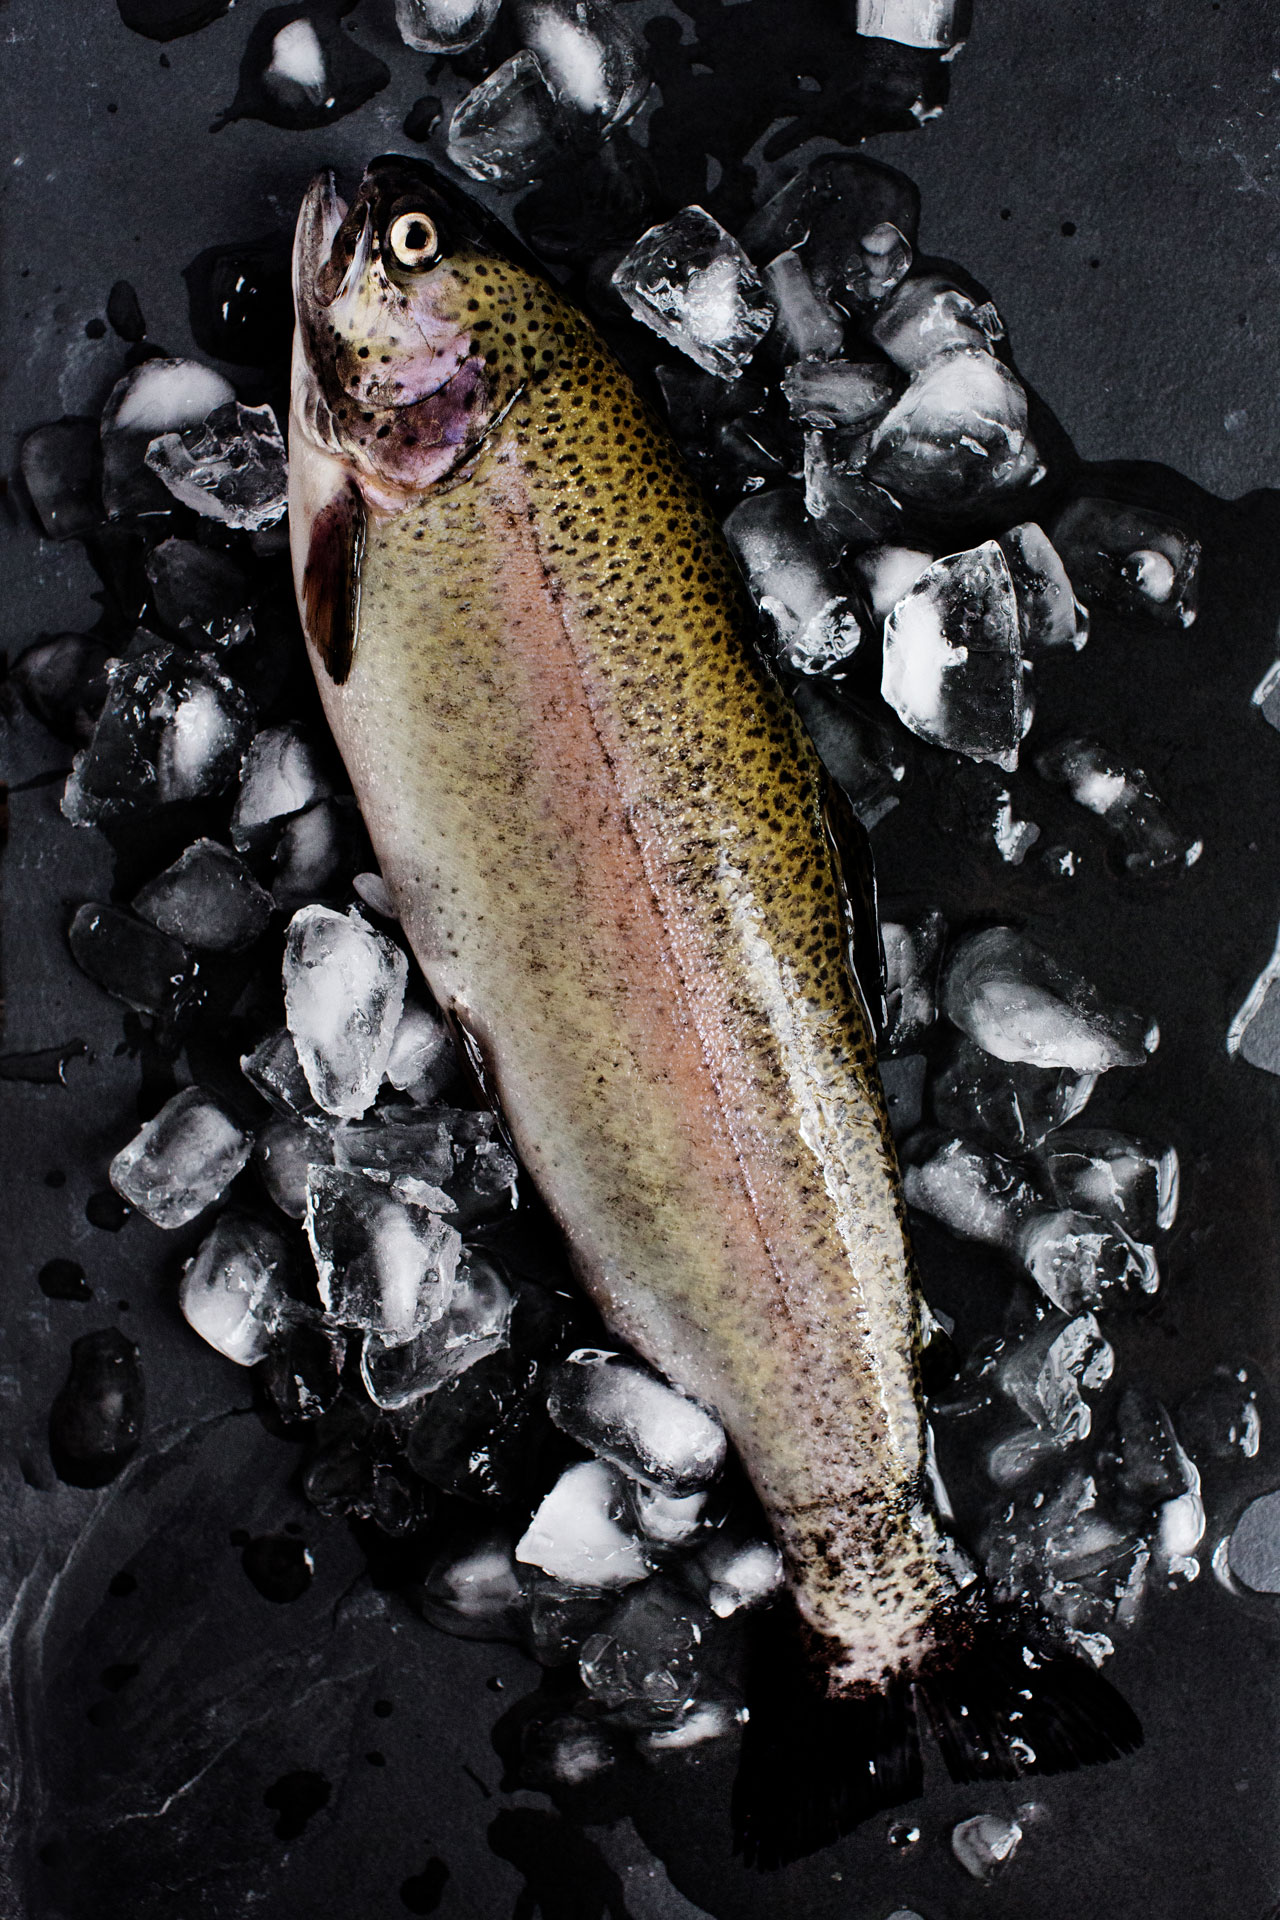
For our project we decided to capture the beauty of locally sourced fish. In my search of the freshest fish, I found Jessie – a gentle humble man who wears his heart on his sleeve and who raises the most delicious trout in the Twin Cities. To get the fish as fresh as possible, I went to his farm and he caught the trout right there for me. While wondering around the fish, the pond and the farm I met Joe OLeary an incredibly talented designer and photographer with whom I had the most wonderful conversation about fish, good food, photography, creativity, wisdom and life. I left the farm with cooler full of fresh fish and with a heart filled with joy. I was a very lucky gal, in a search of fish I found some very real human beings.

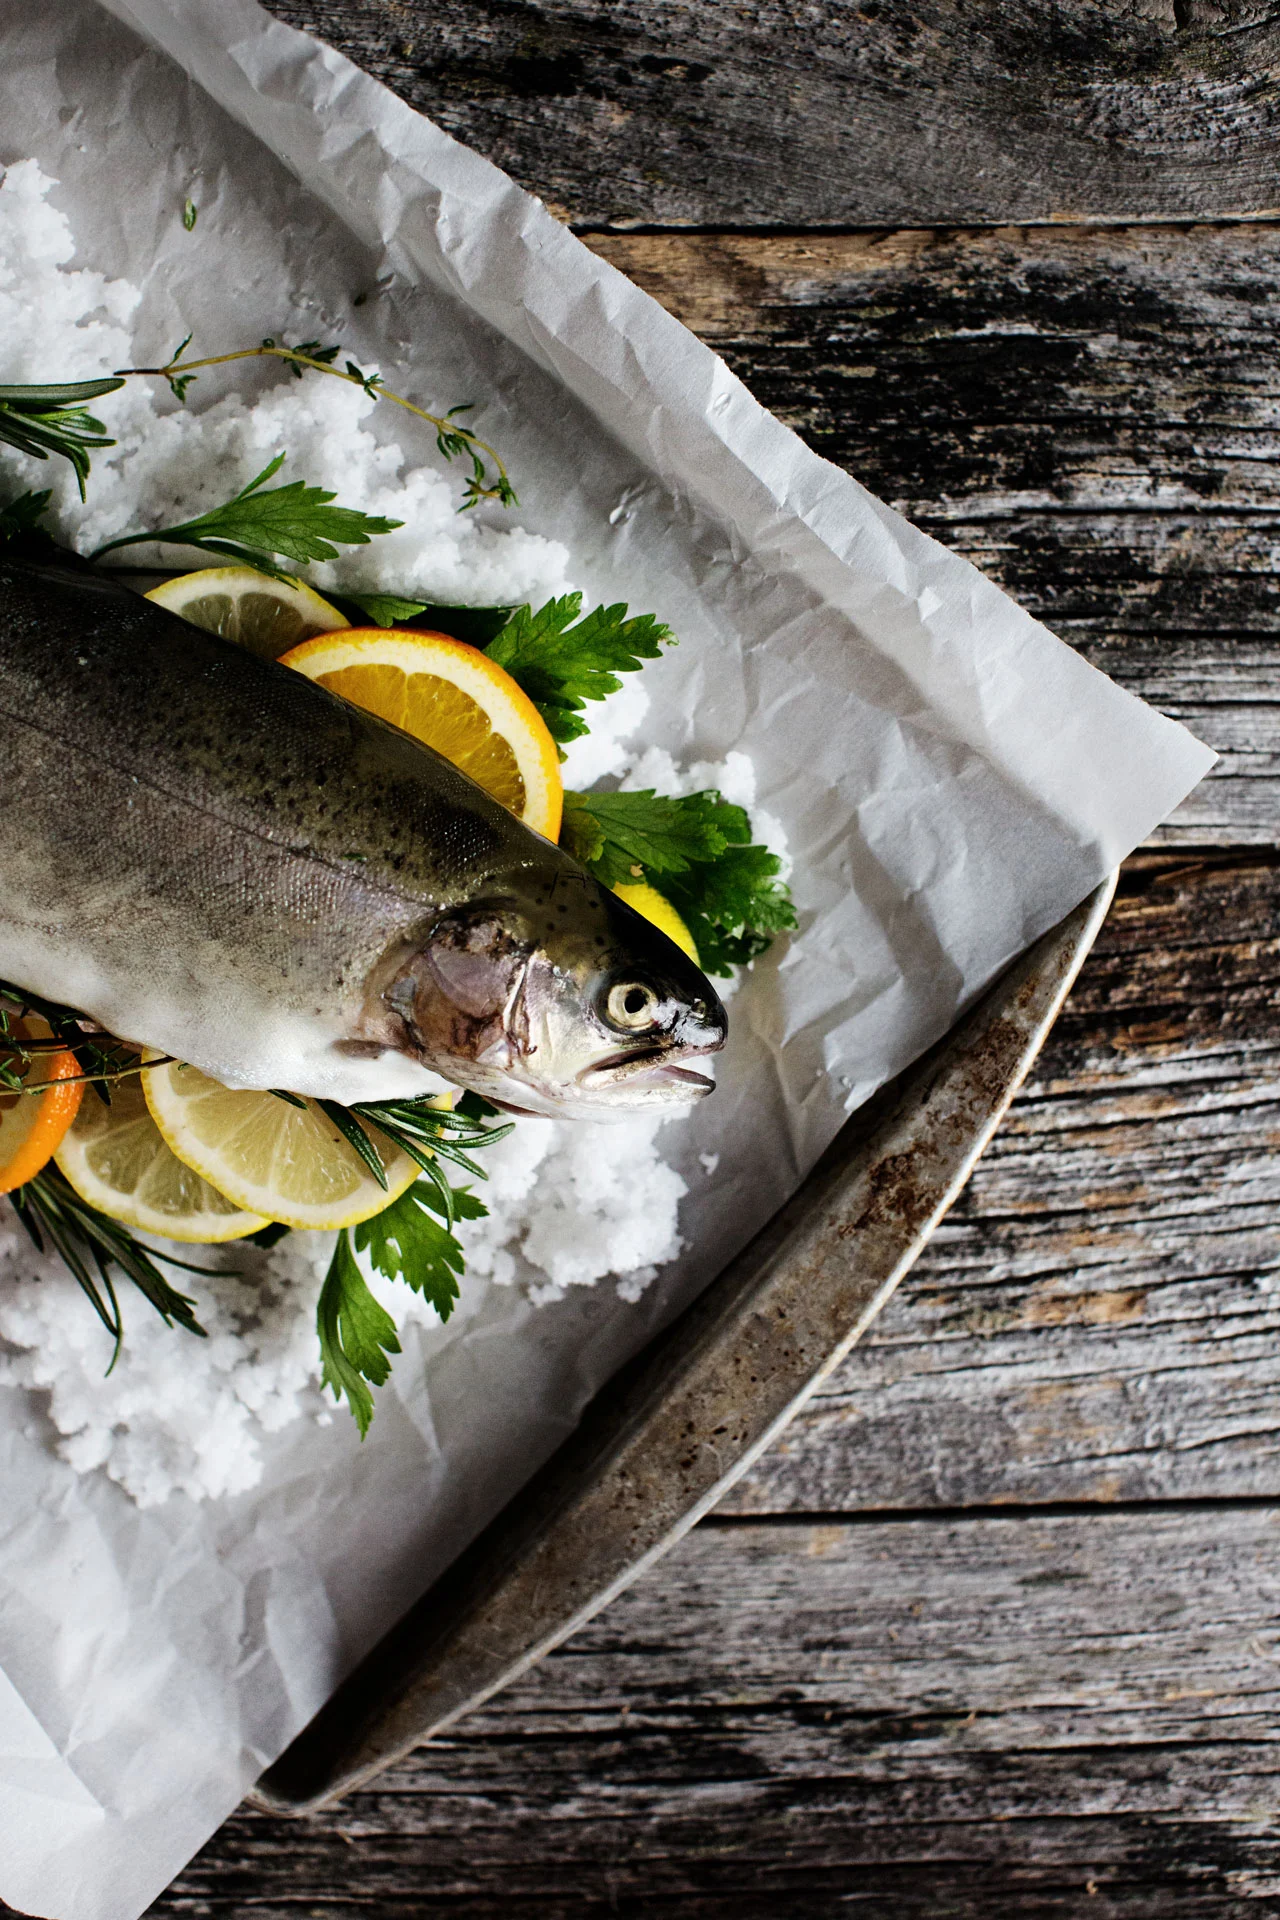
Eliesa and I kept the photoshoot simple. We wanted the natural beauty of the fish to shine through. I used the same approach with the recipe. I let the fish to be the star. Minimum ingredients and simple recipe. I baked the trout whole in salt with herbs, oranges and lemons. The salt seals the fish and cooks it perfectly, allowing all the wonderful aromatics of the herbs and citrus to infuse the fish.  

I say this all the time, and I really, really mean it... I hope you try this wonderful recipe. You don’t need much for it, not even fancy cooking skills. Just love, a baking pan, some salt and a good fish. Have a wonderful day all and don’t forget to treasure the Real in your life.

Photography: Eliesa Johnson / Styling: Iglika Petrova

Photography: Eliesa Johnson / Styling: Iglika Petrova

Photography: Eliesa Johnson / Styling: Iglika Petrova

Photography: Eliesa Johnson / Styling: Iglika Petrova

Photography: Eliesa Johnson / Styling: Iglika Petrova

Photography: Eliesa Johnson / Styling: Iglika Petrova

Satl-baked fish with citrus and herbs


Ingredients:
Serves 2-4

• 1 (1-1.5 pounds) fresh whole trout (head + tail intact), guts cleaned
• 1 box 16 oz. coarse kosher salt
• 1 1/2 cup water
• 1 orange, sliced
• 2 lemons, sliced
• 4-5 sprigs rosemary
• 4-5 sprigs thyme
• 4-5 sprigs fresh parsley


Directions:

  1. Place the rack in the center the oven and preheat to 400 F.

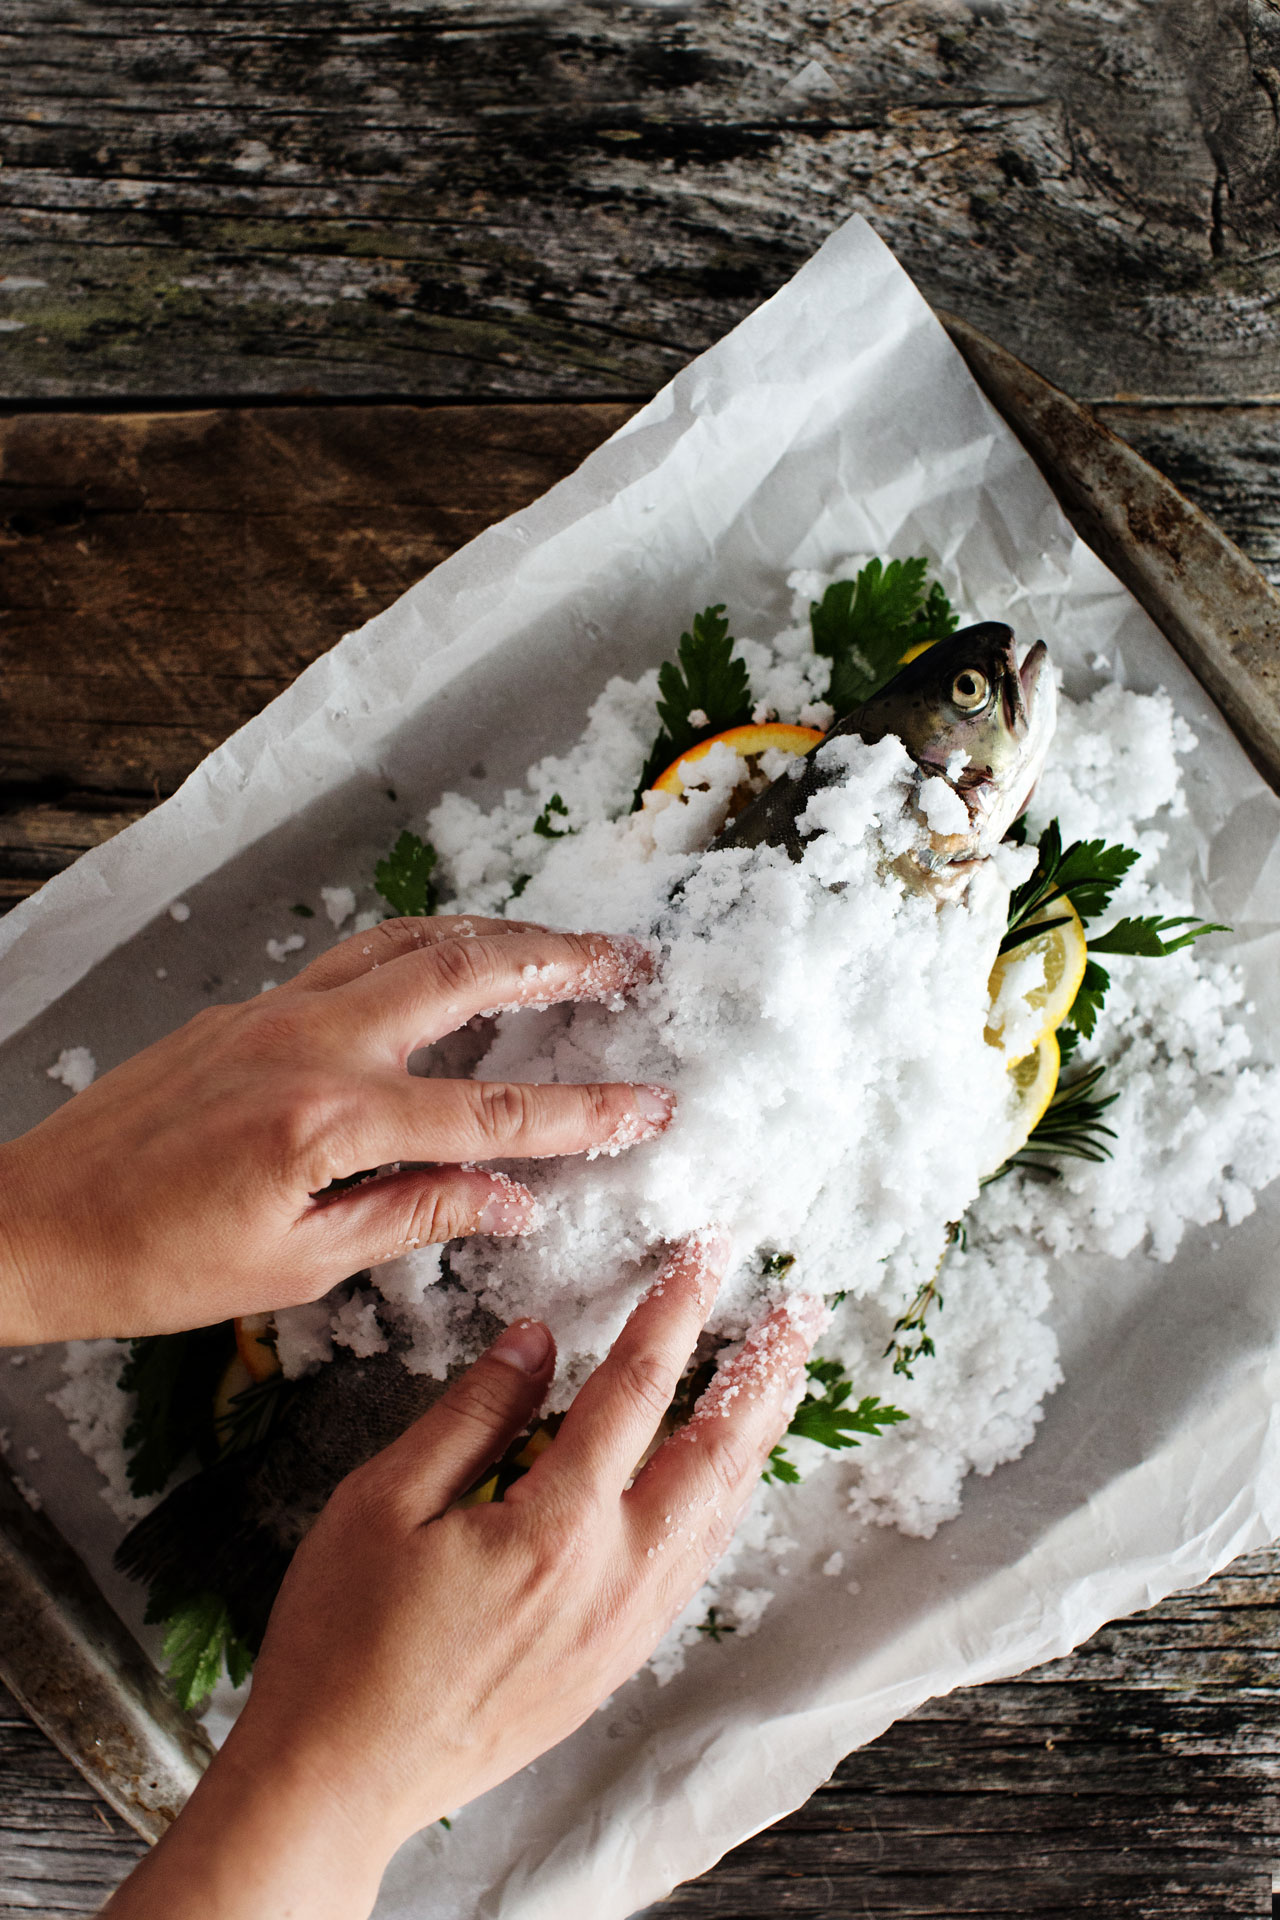
  2. Mix the salt and water in a large bowl (it should have the consistency of a wet sand). Spread about 1/3 of the mixture on a baking tray, roughly in the same shape and size as the fish.

  3. Spread 1/3 of the lemon and orange slices + half of the herbs on top of the salt layer. Place fish on top of the bed of citrus and herbs and fill the cavity of the fish with the rest of the herbs and half of the remaining citrus. Top the fish with the last citrus slices and pile the rest of the salt by leaving the tail and head picking out. Press salt firmly with hands to create solid crust.

  4. Bake fish for 40-50 minutes until the salt crust is dry, firm and lightly brown at edges.

  5. Let fish cool for 20 minutes, then using a spatula or knife break the salt crust and remove the fish filets.

Serve with salad or a side you love. Don’t forget a glass of white wine!

Note: Try removing the top salt crust in one piece. It will be easy to remove the fish this way. If the fish is stuck and hard to remove in one piece, filet it in the pan. See this post on how to filet a whole fish.

Print recipe
Comment

TAGS: fish, main dish, summer


August 4, 2015

Yellow Oyster Mushrooms on Melted Brie Toast

by Iglika


My dear friends, may I present to you the stars of today’s recipe – the wonderfully splenderfull Yellow Oyster Mushrooms. Locally grown by this mushroom guy, which I (as well as other mushroom lovers) discovered at the farmers market and took home, before someone else did (oh, and believe me they do if I don’t get at the market early). These tiny, brightly-colored fragile beauties won my heart and their taste was even more delightful than their look. But before I cooked them, they became the models at my very own photoshoot, and oh the fun we had together.  After some time and attention, I sauté them along with some regular oyster mushrooms, garlic scapes and a touch of thyme. Then I layered them on a melted Brie toast (which itself is finger licking), and enjoyed them with a glass of chilled white wine. You may now ask what do yellow oyster mushrooms taste like, and to me (when sautéed in some butter and olive oil) they taste like crunchy and buttery crispy chicken skin (drooling already?!). And this itself, my dear friends, is something worth trying, especially if you are vegetarian or a mushroom (or a chicken!) fan.

I know that after each recipe I say that I hope you try it, but this time I REALLY hope you do try it, because I will be making it all summer long!

xoxo


Yellow Oyester Mushrooms on Melted Brie Toast

Makes 4 toasts

Ingredients:
• 7 oz. (200 gr) mixed oyster mushrooms
• 3 tbsp butter (40 gr)
• 6 garlic scapes, chopped (or 2 garlic cloves, crushed)
• 1 tbsp white wine (optional)
• 4 sprigs of thyme
• 4 slices of thick crusted bread, toasted
• 4 oz. (125 gr) good quality Brie cheese (preferably with mushroom tasting rind)


Directions:

  1. Brush the mushrooms with a dry brush to remove any dirt and tear the large mushrooms into about 1-inch pieces. Heat a large nonstick pan over medium high heat, when nice and hot add the butter, mushrooms and salt. Cook for 2 minutes, stir and add the garlic scapes and the wine (if using). Cook for 1-2 additional minutes until the edges of the mushrooms turn golden brown. Add thyme leaves and set aside.

  2. Heat the broiler. Cut the Brie cheese into about 1/4-inch (5-6 mm) slices. Top the toasts with the Brie and 1/4 of the mushroom mixture. Arrange the toasts on a baking sheet and place them under the broiler. Bake for 1-2 minutes, or until the Brie has slightly melted and has browned on the edges. Since ovens vary, check toasts often or you might end up with totally melted or burnt toasts.

Pour yourself a nice glass of chilled Sauvignon Blanc and enjoy!


Print recipe
2 Comments

TAGS: mushrooms, appetizer, brie cheese, fall


June 20, 2015

Spinach, nettle and pea shoots dumplings

by Iglika


Oh, how much I love early summer Saturday mornings. These slow days of the week when the sun is bright and happy, and warmly invites you to enjoy its kisses all day long. Saturdays are happy days for me and I have always found something graceful about them. A day when everything happens in a perfect speed – neither too slow nor too fast. Every moment appears in the right time and it lasts just as long as it should. Peacefully. Lovingly. One moment leads seamlessly to the next one in a perfect graceful manner. 

I love to wake up early (hey, but not too early!) on Saturday and head out to my new favorite city farmers market. There is nothing like grabbing a freshly baked croissant (or maybe a few more – you never know how much you will like them) from the bakery stand, a cup of hot coffee, some beautiful peonies and then wonder around for an hour or so while filling my bag with everything that nature is giving us at this time of the year. This particular farmers market is small and it doesn’t have a huge selection of produce, but I find it to be a wonderful gathering community of people who love their city and who appreciate everyone that grows or makes food locally. In essence, it reminds me of European cities where farmers markets appear right in their hearths and are inseparable parts of the local community. 

I never know what I will find at the market and I love the feeling of discovery. In that early summer day the peas, leafy greens, herbs and garlic scapes are in season, I even spotted some fresh nnettle and pea shoots. I decided to grab some beautiful greens, plus some never tried, or never tried produce and make something out of it. I filled my bag with pea shoots (first time for me ever), nettle, fresh spinach and mint and headed home.

I wanted to use all the produce in the same recipe and to retain the freshness of the beautiful greens. For some reason (and totally unrelated to this post) lately I have been thinking of gnocchi, so I decided to make pea shoots and nettle dumplings .

If you haven’t tried nettle one thing you should know is that it sting, so be careful when handling it (if necessary, use gloves). It has a unique flavor and it has been known for centuries for its purifying medicinal qualities. Nettle is at its best in late spring and early summer and you can forage it yourself or get it (quite cheap) at the local farmers market. Blanch or sauté nettle to remove the stinging or add directly to soups.

For this recipe, I sautéed all the greens separately, since each takes a different amount of time to wilt. This  reduces their volume and released the juices. Then I squeezed the juices out so the filling is not watery and loose and added some fresh mint, ricotta and lemon zest. I added a small amount of four, just enough to hold everything together, which made the dumplings soft. Then I boiled them and sautéd them in butter (a good quantity of it), just as you would do with gnocchi, and this made them soft on the inside and crispy on the outside. Most spinach and ricotta dumplings are served with tomato sauce but I like them served with cherry tomatoes and olives lightly drizzled with olive oil.

I loved the result and hope you make the recipe and enjoy it too. Until the next time my friends.

Au revoir!


Spinach, Nettle and Pea Shoots Dumplings

Serves 4


Ingredients:
• 1 bag (125 gr) baby spinach leaves
• 1 cup (loose) fresh nettle 
• 2 cups (loosely) pea shoots (leaves only)
• 1 cup (200 gr) fresh ricotta
• 2/3 cup (50 gr) finely grated Parmesan, plus extra to serve
• 5 spring onions, chopped
• 1 clove garlic, crushed
• 1/4 cup fresh mint leaves (chopped) plus extra to serve
• Zest of 1 lemon
• 1/3 cup (50 gr) plain flour, plus extra for dusting
• 2 eggs
• 4-5 tbsp (45 gr) butter
• 1 1/2 cups (300 gr) halved cherry tomatoes
• 1/3 cup kalamata olives (pit removed)


Directions:

  1. Drizzle a large notstick skillet with some olive oil and heat over medium-high heat. Add the spinach (in batches, if necessary), a pinch of salt and sauté for 2-3 minutes until wilted. Transfer to a bowl and repeat the process with the nettle and the pea shoots. Place all wilted greens on 2 sheets of paper towel and squeeze the water.

  2. Meanwhile, heat a medium pot with water until it starts boiling. Place the wilted greens and rest of the ingredients (except butter) in a large bowl and mix until a sticky dough is formed and add salt and pepper to taste. Roll tablespoons of the mixture into balls and roll in the extra butter. Drop the dumplings (in batches) into the hot water, making sure the boil is gentle and not vigorous, otherwise they can fall apart. Remove with a slotted spoon and set aside.

  3. Toss the tomatoes and olives in a bowl and add olive oil and salt to taste and set aside. Place half of the butter in a large nonstick skillet, heat over medium-high heat and add half of the dumplings. Cook until golden brown (2-3 minutes), then flip and cook on the other side. Place on a plate lined with paper towel and repeat with the remaining butter and dumplings.

  4. Serve while still warm with a side of the tomato/olive salad, extra Parmesan and extra mint leaves.

Print Recipe
Comment

TAGS: spinach, tomatoes, ricotta cheese, olives, lunch, spring


  • Newer
  • Older

Powered by Squarespace 6