September is here. The weather is changing, cool air is coming and the days are getting shorter. I love watching the sunlight in my little apartment and its slow transitioning from the early bright sunny mornings in June, to the hot mid-days in July and August, and the amber-colored late mornings in September. I find myself all the sudden needing a long sleeve shirt for my morning coffee walks, and my rain jacket now is permanently hanging by the door instead of somewhere in the closet. My body feels the change is coming, and I noticed that I have been a bit more jittery this season compared to previous years. I stay longer at the farmers markets, and I have been hauling a ton of farmers vegetables to my little kitchen and preserving them for the winter. My cooking is also different. I noticed my constant cravings for Bulgarian foods lately. And little by little, I am starting to realize that I miss home (Bulgaria). I miss it a lot.
I usually visit home at this time of year, my mom, my friends, and my favorite Sofia. And due to life changes and the current pandemic, this year marks two years since I have been home. I miss the Bulgarian air. There is something different about it. My body and my senses always know when I am home. I feel it all over me as I walk on the streets of Sofia in late August and early September, inhaling the smell of roasted red peppers, cucumbers and parsley coming from the open balcony doors and kitchen windows. It smells like end of the summer, and like all the foods I think as quintessentially, summery and Bulgarian – shopska salata (cucumber, tomato, parsley and feta cheese salad) made with juicy heirloom tomatoes and crunchy cucumbers, kufteta na skara (mini burgers with parsley and onions), and roasted red peppers for lutenitsa (a spread of roasted red peppers, tomatoes and parsley). The flavors and the aromas of these foods are embedded in my bones, and my body craves them as the fall season approaches – year after year, no matter if I am physically in Bulgaria or somewhere else in the world.
So today, I want to share with you my version of the recipe for homemade Lutenitsa. From all the Bulgarian dishes I listed above, this beloved spread has the most nostalgic and craving effect on me. And this year I decided to make loads of it for the winter days, using all the bountiful produce from the farmers market. If you are close to me, I probably fed you Lutenitsa which I make yearly by following this old recipe of mine (my mom’s recipe). So what is different this year, and why a new recipe? Well, I have noticed that my Lutenitsa from previous years tasted slightly bitter due to the store-bought tomato paste. So, this year I decided to embody my Bulgarian grandma and make a homemade tomato paste from scratch, taking advantage of all the sweet, ripe, beautiful (and super cheap) tomatoes from the farmers market.
So how did you make a homemade tomato paste? – you might ask. Here is how I did it: I got loads of Roma tomatoes from the farmers market, grated them on a cheese box grater (super low-tech, how amazing is that!), and cooked them down to s super thick sauce consistency. The process takes a little bit of time, however, most of the tomato cooking is off-hands, and all you need time and patience. In addition, this year I also added garlic to the Lutenitsa, and a bit more oil (olive oil + sunflower oil, for a depth of flavor), which made all the difference taste-wise. Bellow are some tips I discovered that helped me when making homemade Lutenitsa:
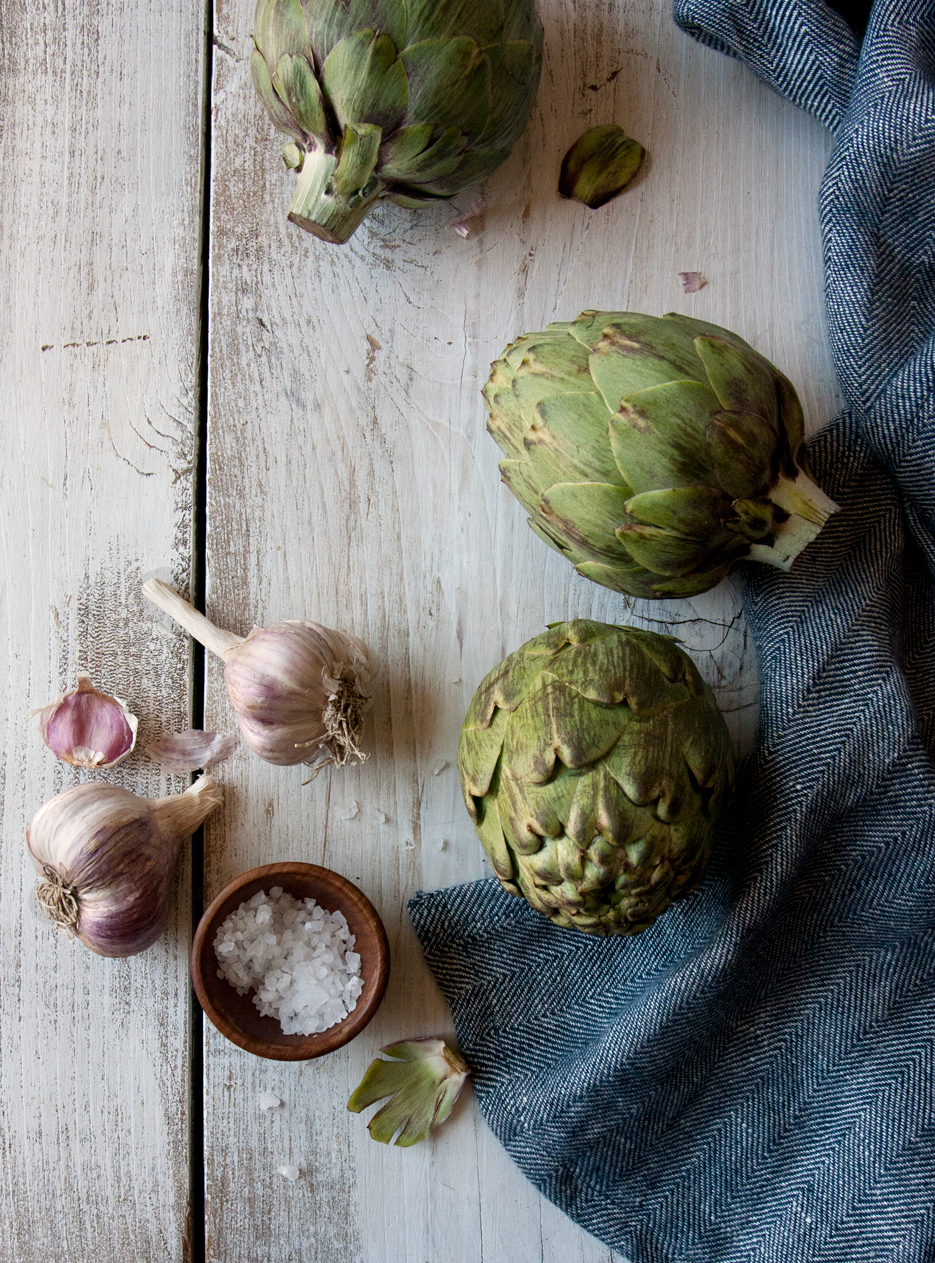
Type of the red peppers: I recommend using Italian red peppers. They are different from red bell peppers as they are longer, triangularly shaped (see photos below). Italian peppers also have more condensed sweet-peppery taste, and they contain far less water than red bell peppers. The water content is important when making Luitenitsa because the goal is to evaporate most of it. So less water in the peppers, means less cooking time for you, and thicker Lutenitsa. If you can’t find Italian peppers at the farmers markets, or at co-ops nearby, you can use red bell peppers but use less of them as they tend to be meatier.
Roasting the red peppers: When using Italian peppers I prefer roasting them whole. Italian peppers are less meatier than bell peppers, and thy can burn and dry much faster than bell peppers while under the broiler or the grill.
The tomatoes: I like using Roma tomatoes as they also have less water and are meatier than other types of tomatoes. However, I love the richness and the sweetness that big heirloom tomatoes have, so I tend to use about 90% Roma tomatoes and 10% heirloom tomatoes. You can use entirely Roma tomatoes, just add a bit more sugar for balance. If you want to use other types of tomatoes rather than Roma, you have to increase the quantity of the tomatoes about 25% since other types contain more water, which will mostly evaporate during the cooking process.
How to thicken your Lutenitsa: I like adding boiled and pureed carrots to my Lutenitsa for two reasons. One: it adds sweetens and complexity to the flavor. Two: it helps thicken Lutenitsa really fast. If you are a person who absolutely hates boiled carrots, don’t worry – when mixed with the rest of the ingredients you won’t taste the carrots at all. I promise!
The Jars: Mason jars with twist off metal lids work the best for water bath . The glass jars with glass lids (found in the United States) will not work for Lutenitsa as they do not create a good enough vacuum seal, which will result in spoiled Luntenitsa and, many, many tears and frustration for all your hard work. The nice part of the metal lids is that you can buy new ones, super cheaply to replace each year. Having new lids (free of scratches and dents) when canning will ensure a perfect vacuum and a seal that could last for a month even without refrigeration. How clean your jars are is super important too. Make sure you wash them with soap and water just before ready for canning.
Canning Funnel: In my opinion canning funnel is one of the greatest inventions ever! It is super cheap and it helps from spilling the canning liquid everywhere around and all over the jars. Having clean jar necks is supper important while canning, as it will ensure good vacuum between the jar and the seal.
Canning Time: Make sure that the temperature of the water bath is the same as the filled jars temperature. Also, make sure that the water bath covers the jars at least 1/2” above the top of the jars. This will ensure that the temperature around the jar is consistent bottom to top. My cooking time for 8oz jars is 10 min after the water starts boiling rapidly.
How to store Lutenitsa: After the jars are vacuumed sealed the contents are good up to a year. I usually store my Lutenitsa in a cool dark place, like a basement, or even a closet or a cabinet in a box. Examine jars once a month to ensure the seals and the lids are holding up.
Common problems:
– “Help! Some Lutenitsa escaped the jars during the canning process and it is floating in the boiling water bath.”
– Turn the heat off, dump the hot water, let the jars cool down completely and examine them to see which lid might be leaking. Most of the time this is a one jar problem vs the entire batch problem. Usually this happens due to faulty lid, broken seal, or irregular jar neck. In those cases, place the content of the faulty jar in a new one with a new lid and start over with the canning process.


Homemade Lutenitsa/Домашна Лютеница
Makes 4-6 (8oz) jars
Equipment:
• 4-6 (8oz) jars with new metal lids
• Canning funnel
• Jar lifter (optional)
• Large cooking pot (at least 5” deep)
Ingredients:
• 10 large, ripe Roma tomatoes (or 8 Roma, and 2 heirloom), about 2.5 pounds
• 10-12 Italian sweet peppers, about 2.5-3 pounds
• 1-2 tbsp sugar
• 1 tsp sea salt
• 4-5 garlic cloves, mashed
• 3 large carrots, peeled and boiled
• 1 tbsp balsamic vinegar
• 3 tbsp sunflower oil
• 1 tbsp olive oil
• 1/2 - 2/3 cup chopped fresh Italian parsley
Directions:
Wash jars and lids and let them dry.
Tomatoes
Wash tomatoes and cut them in half lengthwise. Take a shallow (pasta type) bowl, or a plate, place a box grater over (or inside) the bowl so the bowl can easily collect the tomato juices. Hold a tomato half cut side towards the box grater (see photo) and grate the tomato half on the large holes of the grater until the only part left from the tomato in your hand is the tomato skin. Discard the tomato skin and repeat with the rest of the tomatoes. You might have to empty the bowl when full of tomato juices a few times in a large cooking pot. When all the tomatoes are grated and juiced in the cooking pot, add the salt and the sugar, place the pot over high-heat and bring to a boil, lower the heat to a medium-high heat and let the water to evaporate naturally, about 2 hours. It’s important to keep the heat to a medium-height for the first hour during the cooking so the water can evaporate quickly. Stir tomatoes frequently, and after about 1.5 hours lower the heat to a low-heat to avoid tomato splashes over the stove top. Tomato sauce is thick enough when it is reduced to 1/3 of its original volume. Tested for thickness by running a spoon through the sauce, it should leave deep grooves. Turn heat off, place the lid on the pot to keep the tomato sauce warm, and set aside until you have the rest of your ingredients for the Lutenitsa all cooked, pureed and ready to go. If the rest of your ingredients are pureed and ready, keep the tomato sauce on the stove top on low and follow the directions under “Assembly” below.
Peppers
While the tomato sauce is simmering and thickening, wash and dry the Italian peppers. Arrange on a rimmed baking sheet (work in batches if needed), leaving at least 1/2 inch space around each pepper. Place peppers under the broiler (alternatively you can use the grill) and roast until their skin blisters and turns black. Check peppers every 3-5 minutes to make sure they are not burning. Turn peppers over when a side is blistered and with dark spots. Roast until all sides of the peppers are blistered and with black spots, 25-40 min depending on your oven type and broiler settings. Remove peppers from the oven and place in a large pot or bowl and cover tightly with a lid. Repeat with the remaining peppers, if any. Let peppers cool completely, the steam in the bowl/pot will loosen their skin. The skins should peel away off of the peppers easily when cooled.
Peel the pepper skins, remove the stem and the seeds. Seeds can be easily removed if the roasted peppers are cut open and the seeds are gently scraped with a spoon or back of a knife. Do not run peppers under water to clean, you’ll lose most of the roasted flavor that you worked so hard to get.
Assembly
Place as many peppers as you can fit in your food processor (using an immersion blender works well too). Pulse a few times until peppers are chunky and bumpy consistensy (not entirely smooth). Place the pureed peppers in the cooking pot with the thickened tomato sauce. Add the boiled carrots to the food processor and puree until smooth. Add pureed carrots to the pot with the tomato and peppers puree. Add the mashed garlic and balsamic vinegar to the pot with the rest of the ingredients (hold the paisley until the end), mix everything really well and add more salt, or balsamic vinegar per taste. At this point, if your mixture looks a bit runny or not quite thick, turn the heat on and simmer the mixture on very low heat for additional 10-15 minutes, stirring frequently, until the mixture looks thick enough. Add the chopped parsley, stir well and taste (I tend to love my Lutenitsa with lots of parsley, so I always add more, but you donut have to).
Canning
Take a clean jar, place the canning funnel on top, and fill the jar using a spoon. Make sure the jar is filled only to the point where the jar neck starts, don’t fill it all the way to the top. Wipe clean the jar top, otherwise it might not create a solid vacuum with the lid. Close the jar with a lid and make sure the lid is tight. Repeat the process with the remaining jars until no Lutenitsa is left. Sometimes the Lutenitsa will not be enough to fill one last full jar, in that case place the mixture in a smaller jar, or just enjoy the fresh leftover Lutenitsa with some toasted bread.
Working in batches if necessary, place the closed Lutenitsa jars, standing up with lids up, in a large pot. Make sure that the pot is deep enough; you need at least 2 inches of space above the top of the jars. Fit as many jars as you can but make sure the jars are not touching each other. Fill the pot with water that is close to the temperature of the filled jars. Water should cover the jar lids by at least an inch. Bring the pot to a boil, lower to med-heat and simmer bubbling for 10 minutes (start timing after the water starts boiling). During the 10 minutes of canning make sure the water is bubbling but not super aggressive and splashing. Check the jars from time to time to make sure no jar is leaking.
After the 10 minutes of canning, pour the water from the pot carefully, it will be really hot! If some water is still left at the bottom of the pot that is ok, the most important thing is to be careful when pouring the hot water from a pot filled with jars. Let jars sit for 10 min to cool off slightly. Using a jar lifter or a thick kitchen towel, carefully remove jars from the pot and place them on a kitchen towel. Repeat the sterilizing process with the remaining jars, if any.
Cool the jars completely and store in a cool place. Lutenitsa can be stored for up to 1 year. Refrigerate opened Lutenitsa jars, and consume within 10 days of opening.
Ways to enjoy Lutenitsa
• Spread on a buttered thick-crusted bread toast, and top with feta or goat cheese (Bulgarian style)
• Spread on burgers or sandwiches
• Excellent French fries dipping sauce